AI 赋能生产力:DeepSeek 与常用工具链整合实战
引言
在现代化的工作流中,效率是关键。通过将人工智能(AI)无缝集成到我们日常使用的生产力工具中,可以极大地提升工作效率。本文将介绍如何将 AI 功能,特别是性价比极高的 DeepSeek 模型,整合到以下四个核心工具中:
- Obsidian: 用于知识管理和笔记撰写,AI 可以辅助进行内容总结、润色和续写。
- Neovim (nvim): 作为主力代码编辑器,AI 能够实现自然语言驱动的编程。
- Fish Shell: 在终端环境中,AI 可以将复杂的自然语言描述直接转换为可执行的命令。
- Raycast: 作为启动器和快捷工具,AI 能让你无需离开当前上下文,即可快速获得问题的答案。
考虑到成本和稳定性,我们选择通过火山方舟(Volcano Engine)来调用 DeepSeek 模型 API。其不仅价格低廉,新用户还能享受丰厚的免费额度。
一、配置 DeepSeek API
火山方舟提供了比官方渠道更稳定且经济的 DeepSeek 模型 API 服务。新用户注册即可获得 50 万 token 的免费额度,并且在特定活动期间(如截至 2025 年 5 月 31 日的协作奖励计划),每日都可获得 50 万的免费 token。
官方网站: 火山引擎-云上增长新动力
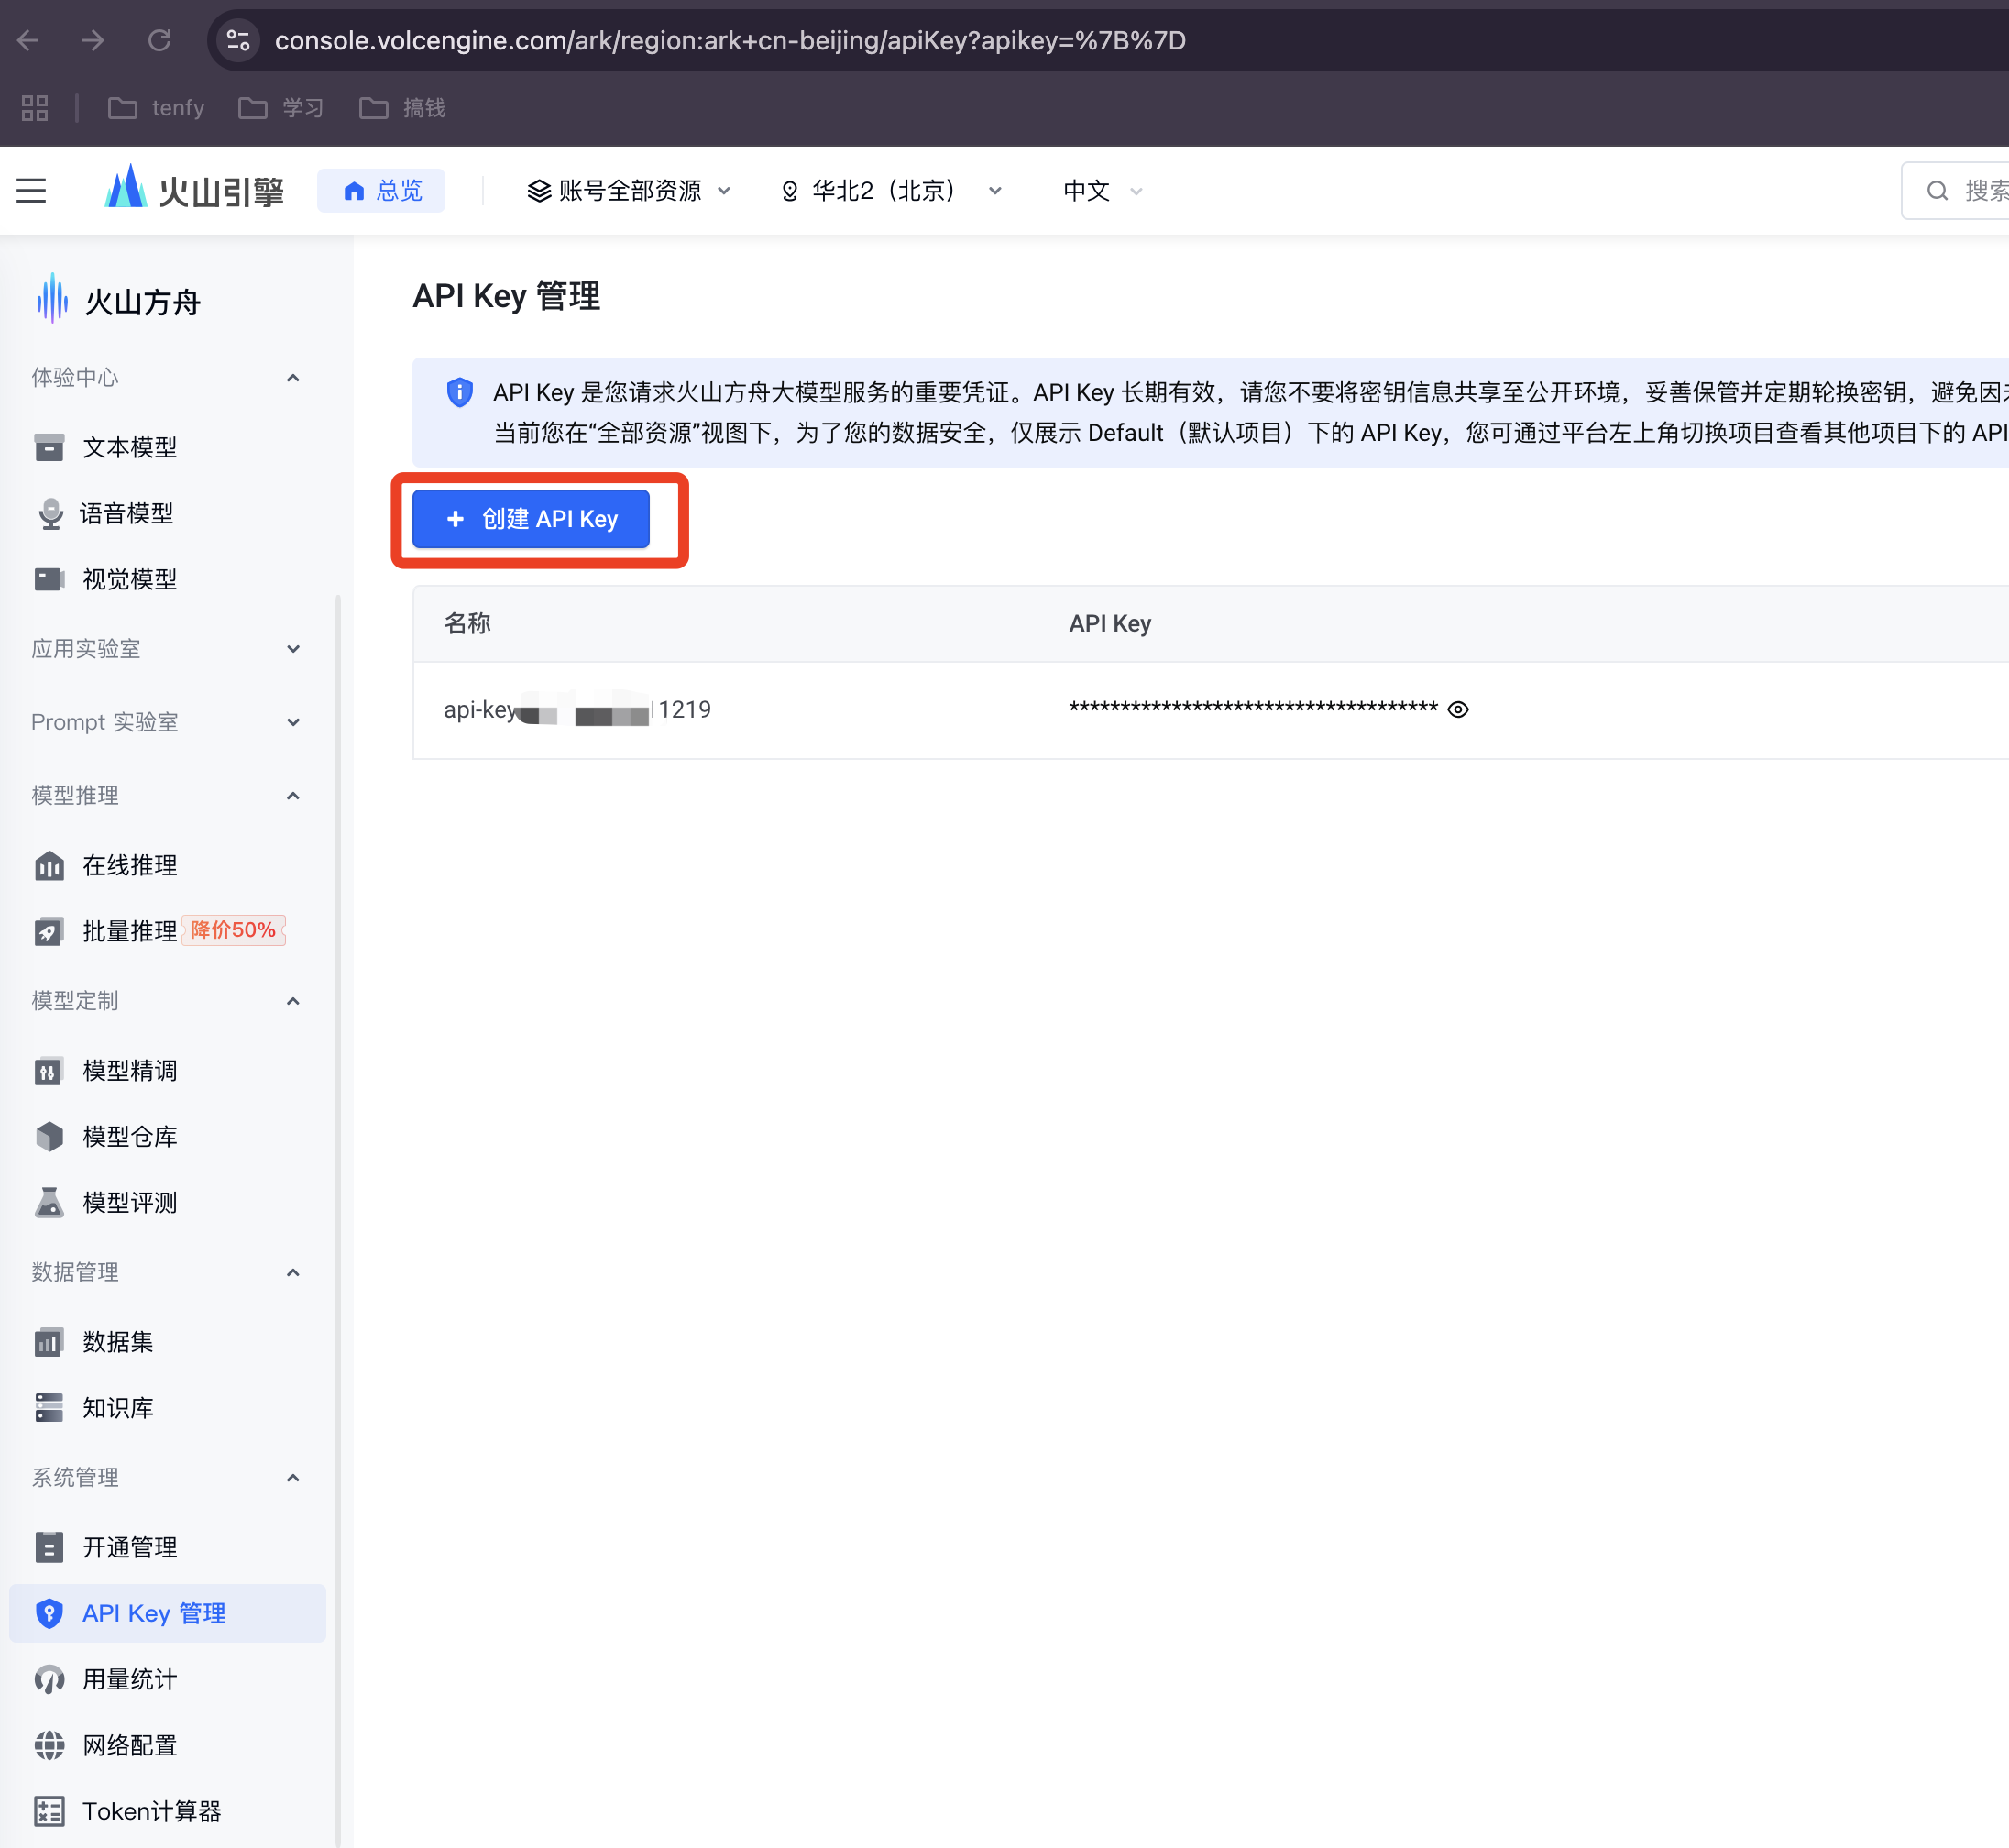
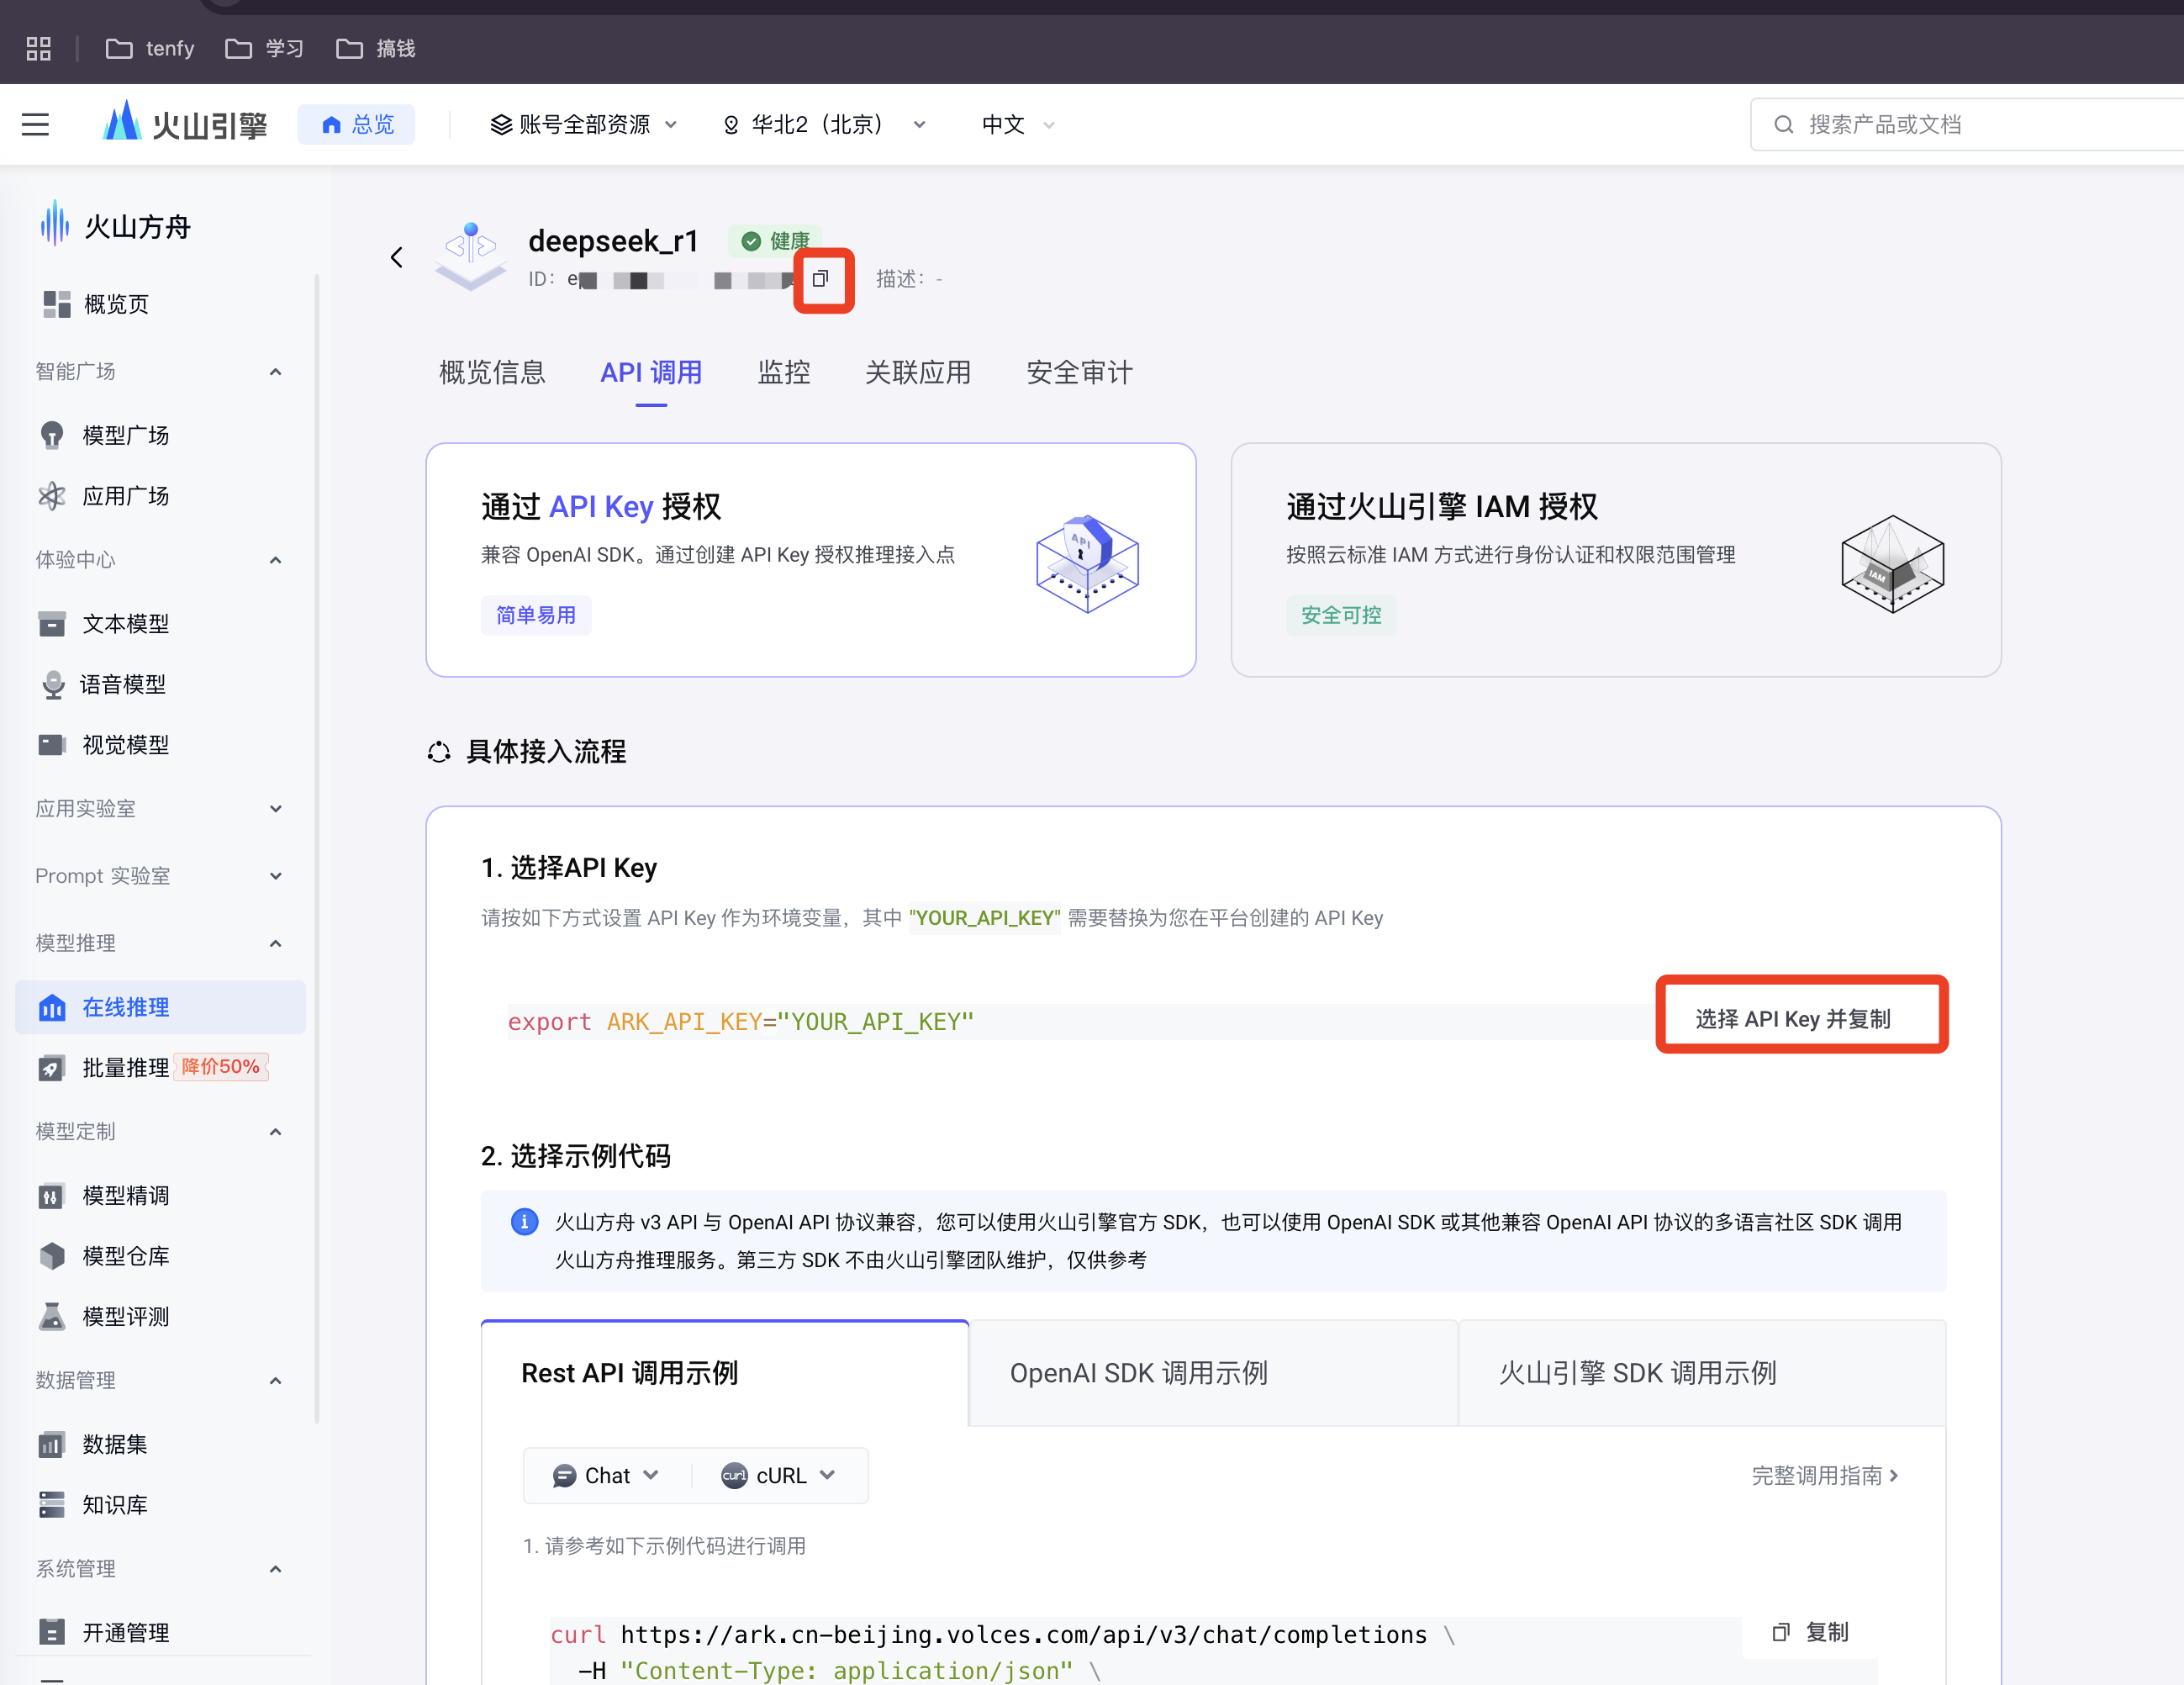
步骤 1: 创建 API 密钥
登录火山方舟后,在“API Key 管理”页面创建一个新的密钥,并妥善保管。
步骤 2: 创建模型推理接入点
在“模型广场”的“在线推理”菜单中,创建-个模型推理接入点。
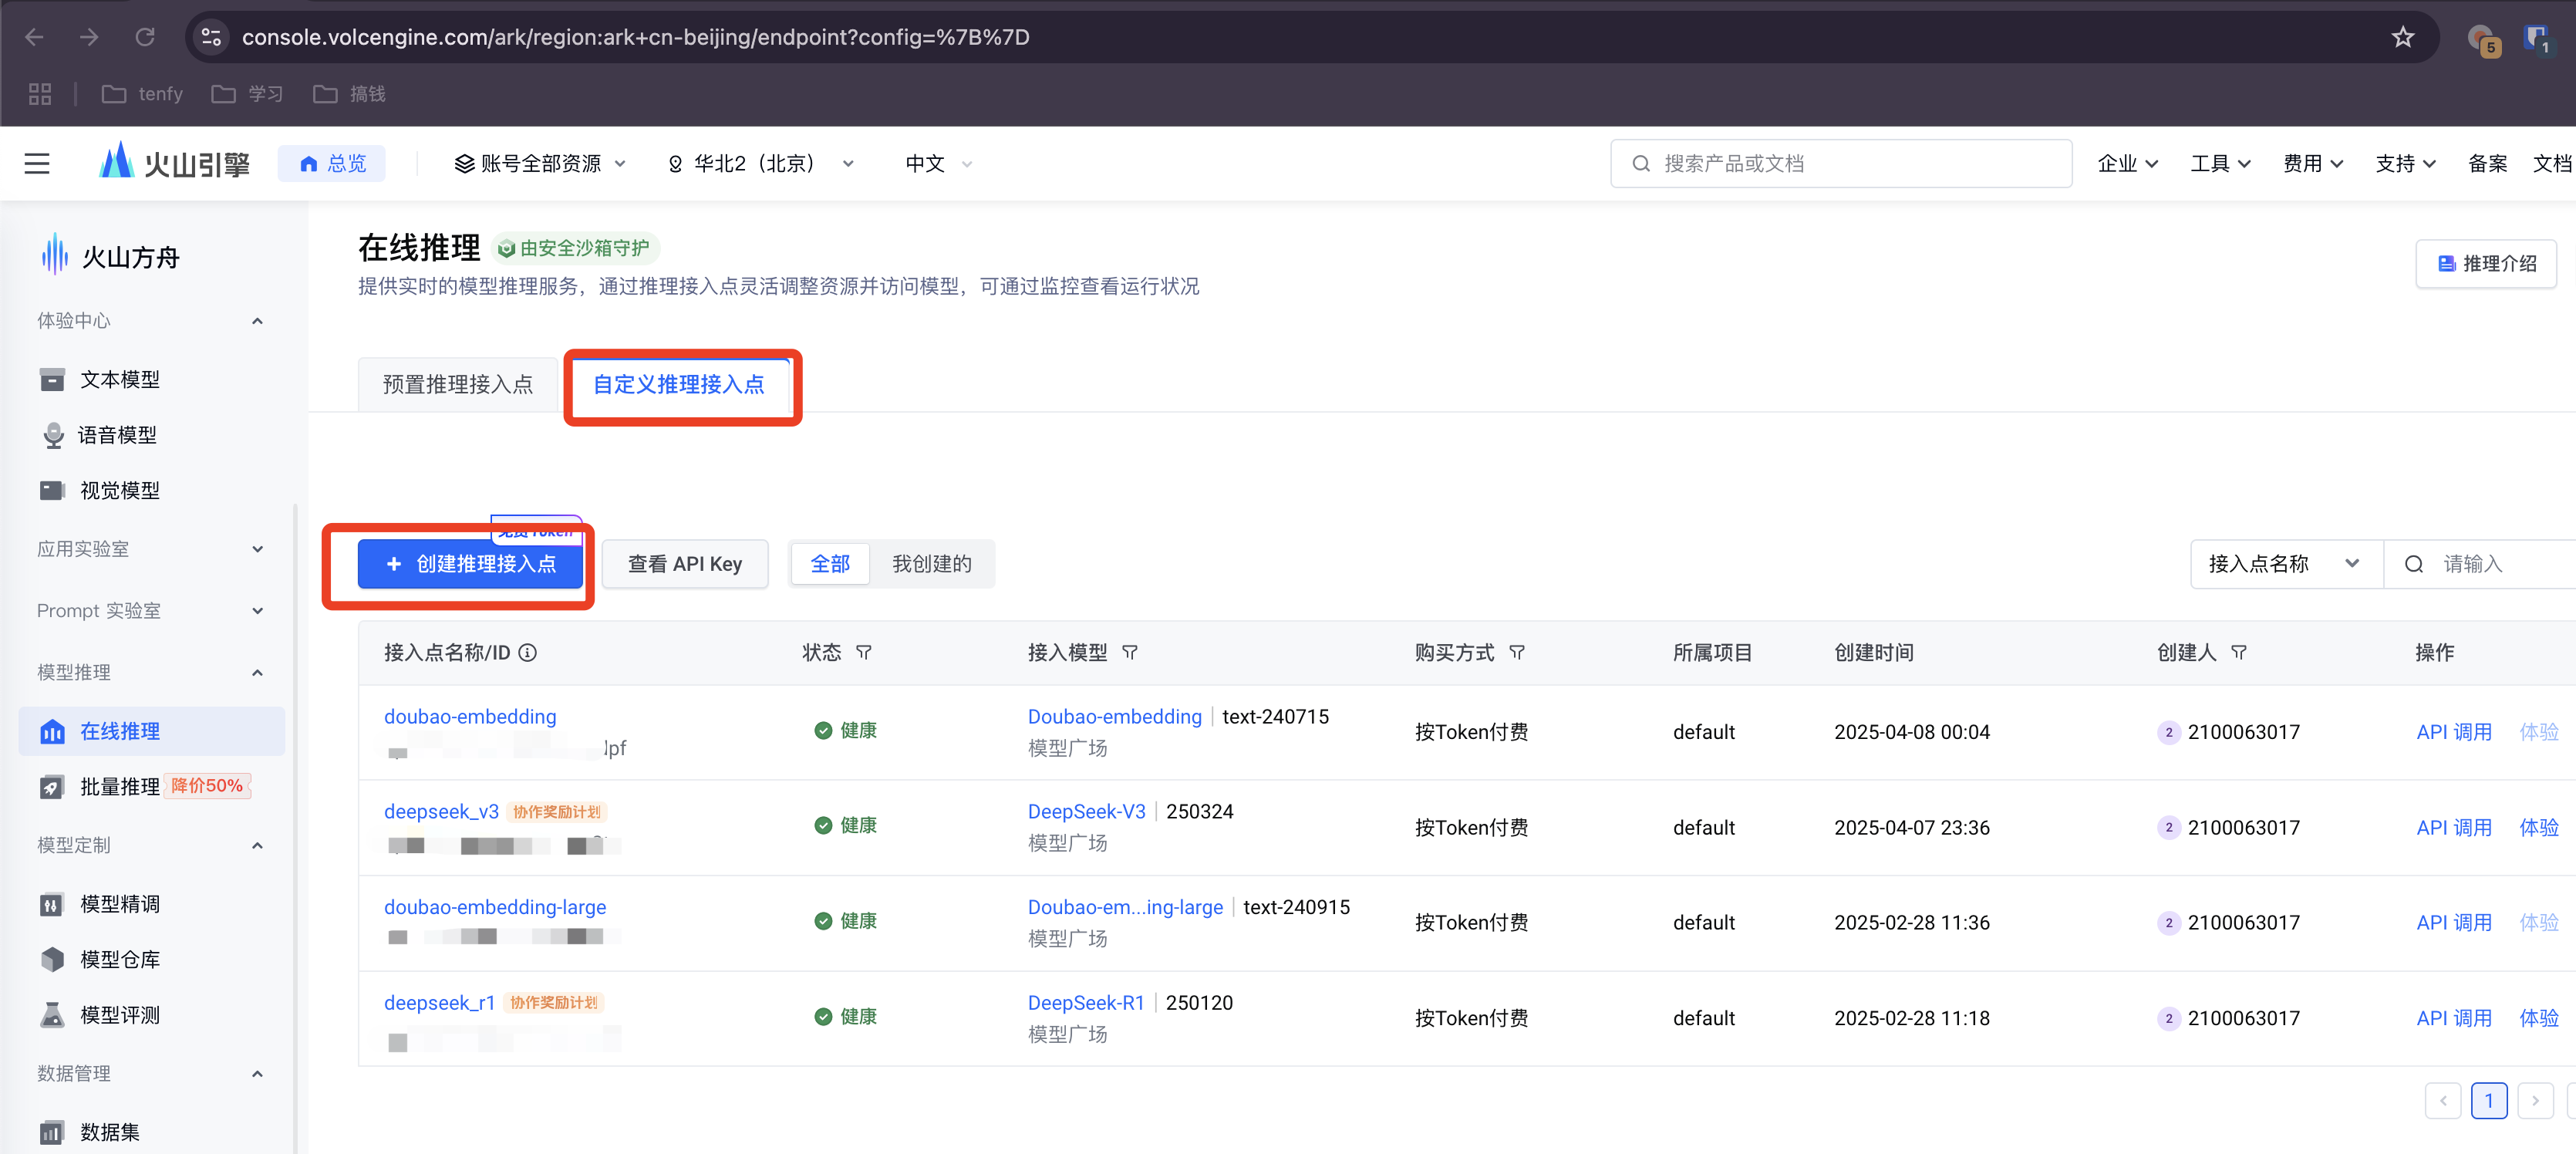
为你的接入点命名,例如 deepseek-service。
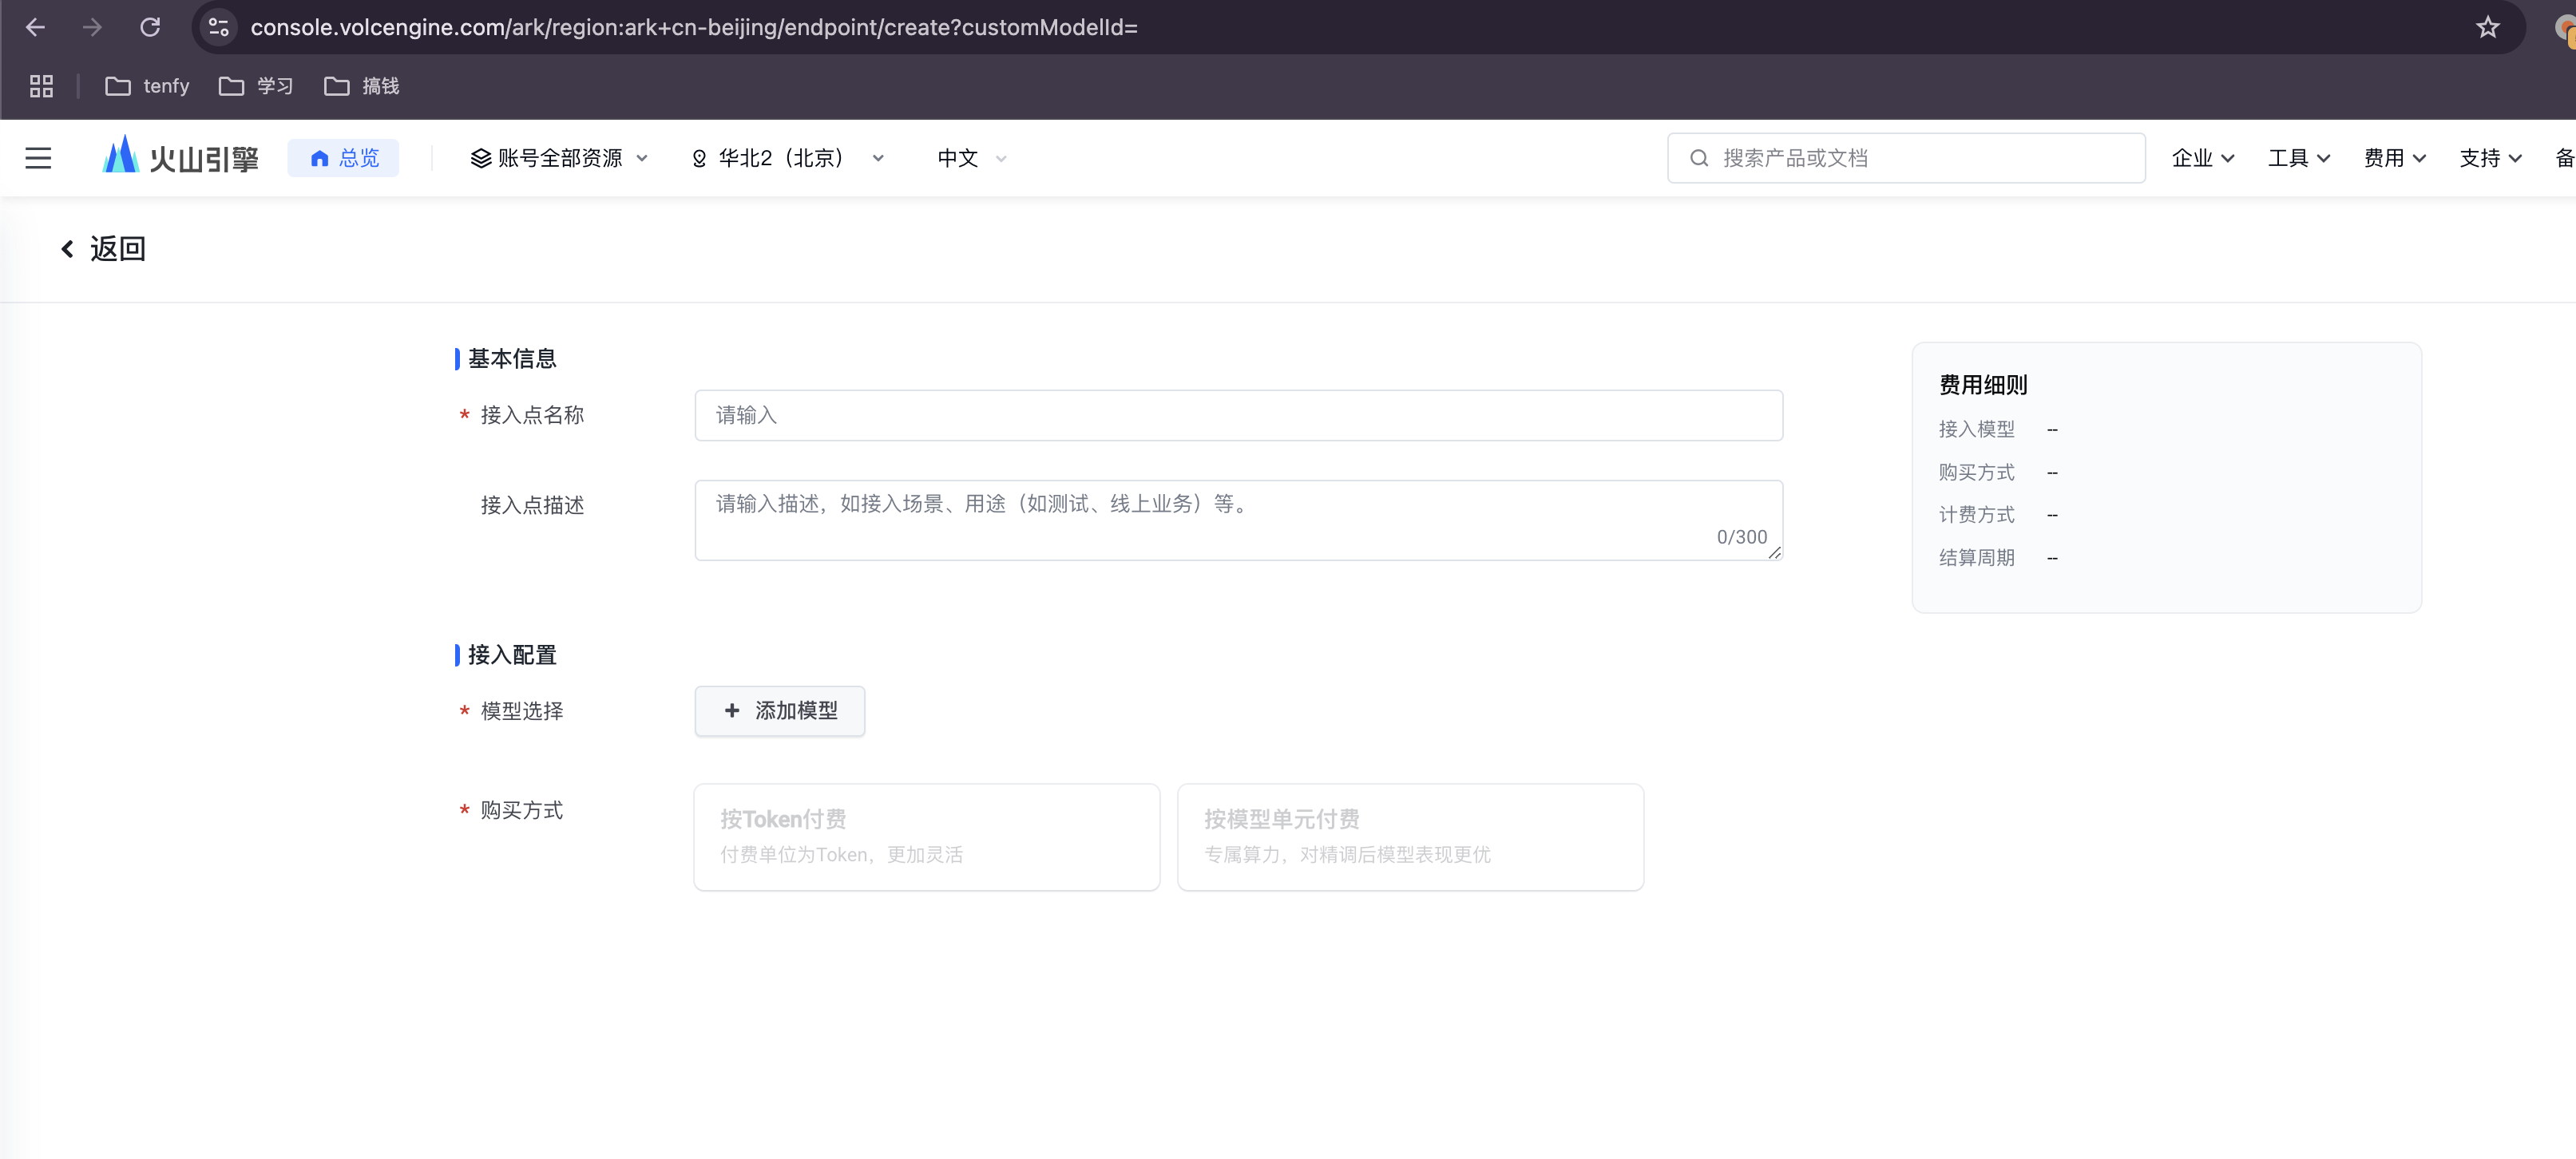
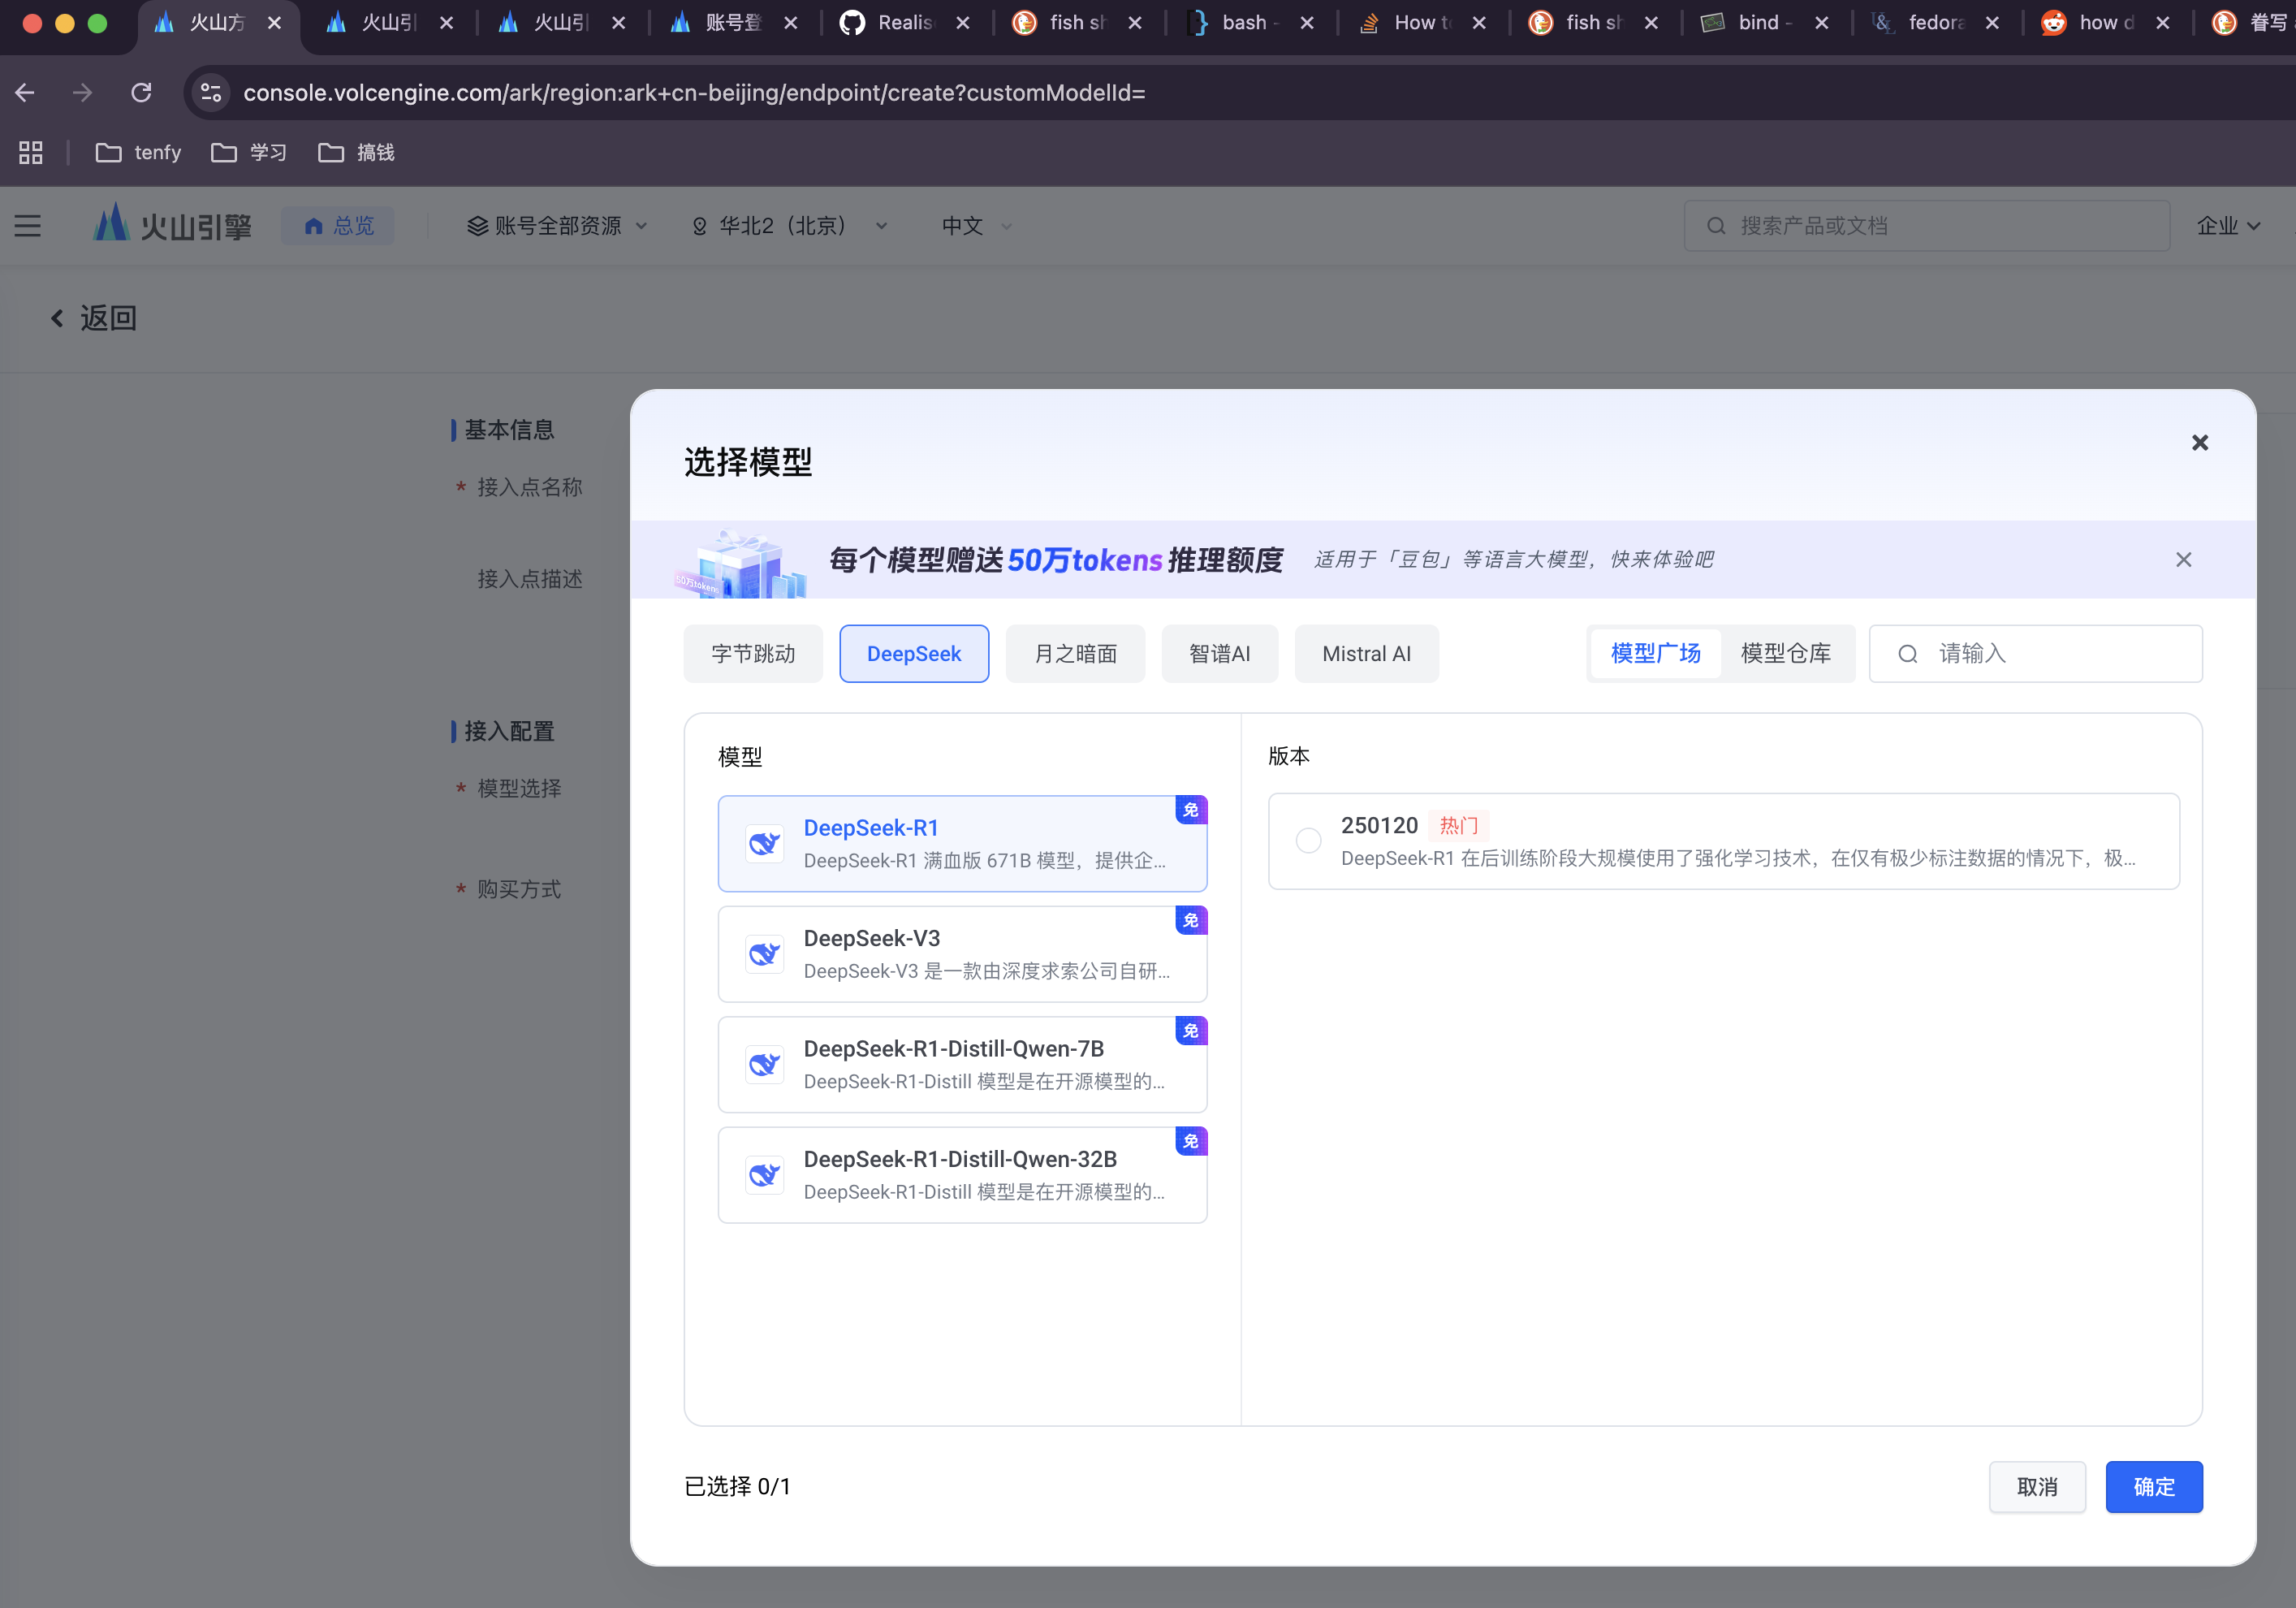
步骤 3: 选择并部署模型
在模型列表中选择 DeepSeek,建议分别创建 deepseek-coder-v2-lite (代号 R1) 和 deepseek-pro-chat (代号 V3) 两个模型的接入点,以满足不同场景的需求。
步骤 4: 获取接入点信息
创建成功后,点击模型名称进入详情页,复制并保存好模型 ID (Model ID) 和接入点地址 (Endpoint),后续配置会用到。
完成以上步骤后,我们就可以开始为各个工具配置 AI 功能了。
二、工具集成配置
1. Obsidian
首先,在 Obsidian 的社区插件市场中安装 Copilot 插件。
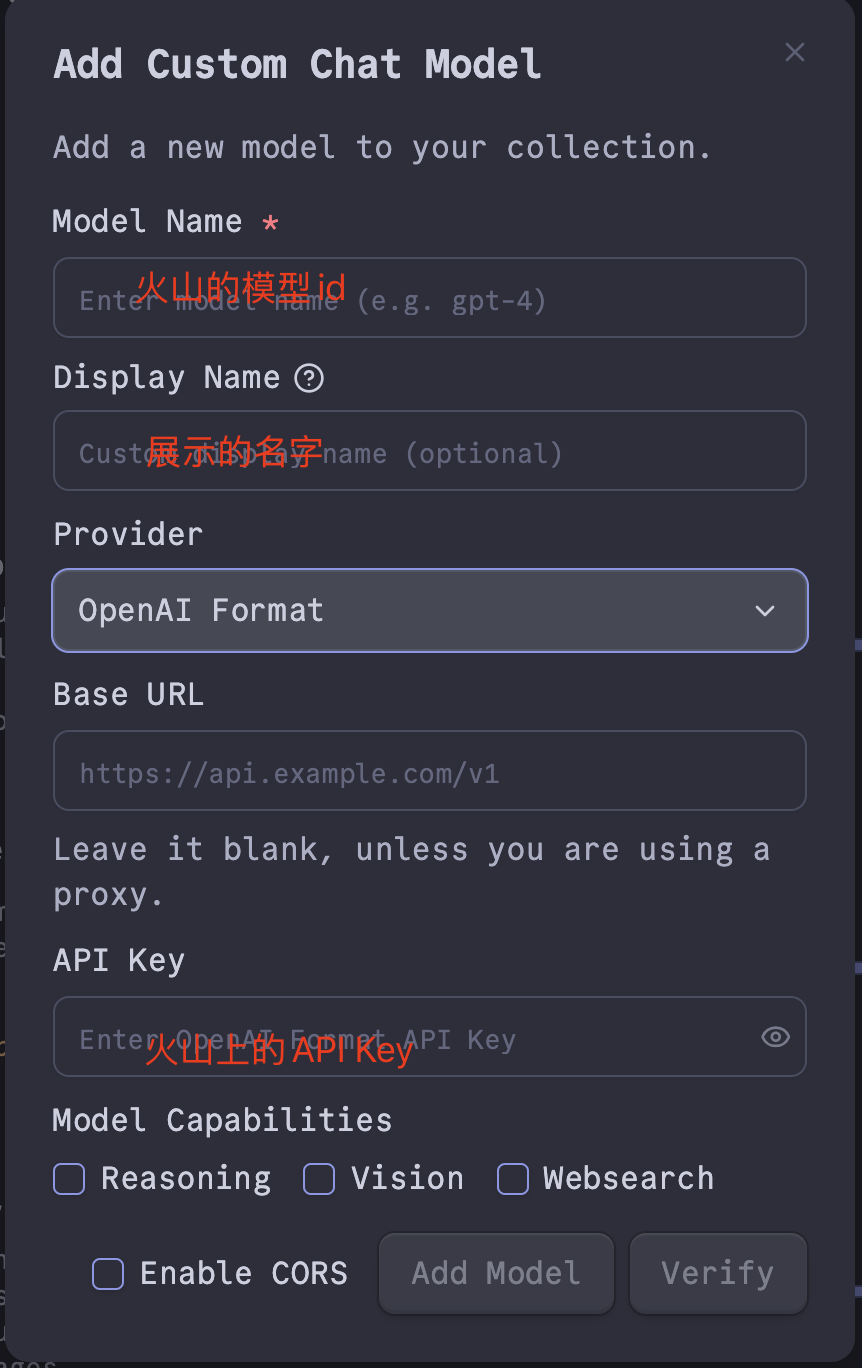
进入插件设置,新增一个模型配置,并将 Base URL 设置为你的火山方舟接入点地址:
- Base URL:
https://ark.cn-beijing.volces.com/api/v3
添加后,在 Default Chat Model 中选择你刚刚配置的模型。建议将 R1 和 V3 都配置上,按需切换。现在,你可以通过 Copilot 面板与 AI 进行交互了。
2. Neovim (nvim)
对于 Neovim,我们使用 olimorris/codecompanion.nvim 插件。以下是推荐的 Lua 配置:
local function clean_streamed_data(data)
if type(data) == "table" then
return data.body
end
local find_json_start = string.find(data, "{") or 1
return string.sub(data, find_json_start)
end
local function handle_chat_output(self, data)
local output = {}
if data and data ~= "" then
local data_mod = clean_streamed_data(data)
local ok, json = pcall(vim.json.decode, data_mod, { luanil = { object = true } })
if ok and json.choices and #json.choices > 0 then
local choice = json.choices[1]
local delta = (self.opts and self.opts.stream) and choice.delta or choice.message
if delta then
output.role = delta.role or nil
output.content = (delta.reasoning_content or "") .. (delta.content or "")
return { status = "success", output = output }
end
end
end
end
local function deepseek_adapter(name, formatted_name, model_name)
return require("codecompanion.adapters").extend("openai_compatible", {
env = {
url = os.getenv("DEEPSEEK_API_URL"),
api_key = os.getenv("DEEPSEEK_API_KEY"),
chat_url = os.getenv("DEEPSEEK_CHAT_URL"),
},
name = name,
formatted_name = formatted_name,
handlers = {
chat_output = handle_chat_output,
},
schema = {
model = {
default = model_name,
},
temperature = {
order = 2,
mapping = "parameters",
type = "number",
optional = true,
default = 0.0,
desc =
"What sampling temperature to use, between 0 and 2. Higher values like 0.8 will make the output more random, while lower values like 0.2 will make it more focused and deterministic. We generally recommend altering this or top_p but not both.",
validate = function(n)
return n >= 0 and n <= 2, "Must be between 0 and 2"
end,
},
},
})
end
local function deepseek_adapter_v3()
return deepseek_adapter("deepseek_v3", "Deepseek-V3", os.getenv("DEEPSEEK_MODEL_V3_ID"))
end
local function deepseek_adapter_r1()
return deepseek_adapter("deepseek_r1", "Deepseek-R1", os.getenv("DEEPSEEK_MODEL_R1_ID"))
end
return {
"olimorris/codecompanion.nvim",
dependencies = {
"nvim-lua/plenary.nvim",
"nvim-treesitter/nvim-treesitter",
},
config = function()
require('codecompanion').setup({
display = {
chat = {
icons = {
pinned_buffer = " ",
watched_buffer = "👀 ",
},
},
token_count = function(tokens, adapter)
return " (" .. tokens .. " tokens)"
end,
},
adapters = {
opts = {
show_defaults = false,
},
deepseek_r1 = deepseek_adapter_r1,
deepseek_v3 = deepseek_adapter_v3,
},
strategies = {
chat = {
adapter = "deepseek_r1",
},
inline = {
adapter = "deepseek_r1",
},
},
opts = {
language = "Chinese",
},
})
end,
}
此配置依赖以下环境变量:
| 环境变量 | 值 |
|---|---|
DEEPSEEK_API_URL | https://ark.cn-beijing.volces.com/api/v3 |
DEEPSEEK_API_KEY | 你在火山方舟创建的 API Key |
DEEPSEEK_CHAT_URL | /chat/completions |
DEEPSEEK_MODEL_R1_ID | 你在火山方舟创建的 R1 模型 ID |
DEEPSEEK_MODEL_V3_ID | 你在火山方舟创建的 V3 模型 ID |
3. Fish Shell
对于 Fish Shell,我们使用 realiserad/fish-ai 插件。
注意: 建议使用 V3 模型,因为 R1 模型在此插件下响应较慢,且无法实时看到流式输出。
创建并编辑配置文件 ~/.config/fish/fish-ai.ini:
[fish-ai]
history_size = 5
preview_pipe = True
configuration = deepseek-v3

[deepseek-v3]
provider = self-hosted
api_key = YOUR_DEEPSEEK_API_KEY
server = https://ark.cn-beijing.volces.com/api/v3
model = YOUR_DEEPSEEK_V3_MODEL_ID

[deepseek-r1]
provider = self-hosted
api_key = YOUR_DEEPSEEK_API_KEY
server = https://ark.cn-beijing.volces.com/api/v3
model = YOUR_DEEPSEEK_R1_MODEL_ID
请将 YOUR_DEEPSEEK_API_KEY、YOUR_DEEPSEEK_V3_MODEL_ID 和 YOUR_DEEPSEEK_R1_MODEL_ID 替换为你的实际信息。
4. Raycast
在 Raycast 商店中安装 Deepseek Quick Actions 插件。
进入插件设置,填写以下信息:
- Custom API Endpoint:
https://ark.cn-beijing.volces.com/api/v3 - Custom Model Name: 填入你在火山方舟创建的模型 ID(推荐使用 V3 模型以获得更快的响应速度)。
- LLM Model: 选择
deepseek-chat。
配置完成后,你就可以通过 Raycast 快速调用 DeepSeek 了。
总结
通过以上配置,我们成功地将强大的 AI 能力集成到了日常的开发和笔记工具中,形成了一套高效、连贯的工作流。希望这篇指南能帮助你轻松地为自己的生产力工具插上 AI 的翅膀。